Serial dilution multiplies small dilution steps to reach very low concentrations. Learn the formula, step-by-step protocol, dilution factor math, and applications in CFU counting, ELISA, and MIC assays. Free calculator with dilution series generator included.
Sometimes you need a concentration so low that doing it in one step is impossible — or wildly inaccurate. If your stock is 1 M and you need 1 nM, a single dilution requires pipetting 1 nanoliter into a liter of solvent. No pipette can do that reliably. The solution is serial dilution: perform several small, manageable dilutions in sequence, and multiply their dilution factors together. This guide covers when to use serial dilution, the math behind it, a step-by-step protocol, real lab applications, and the mistakes that ruin your dilution series.
What Is Serial Dilution?
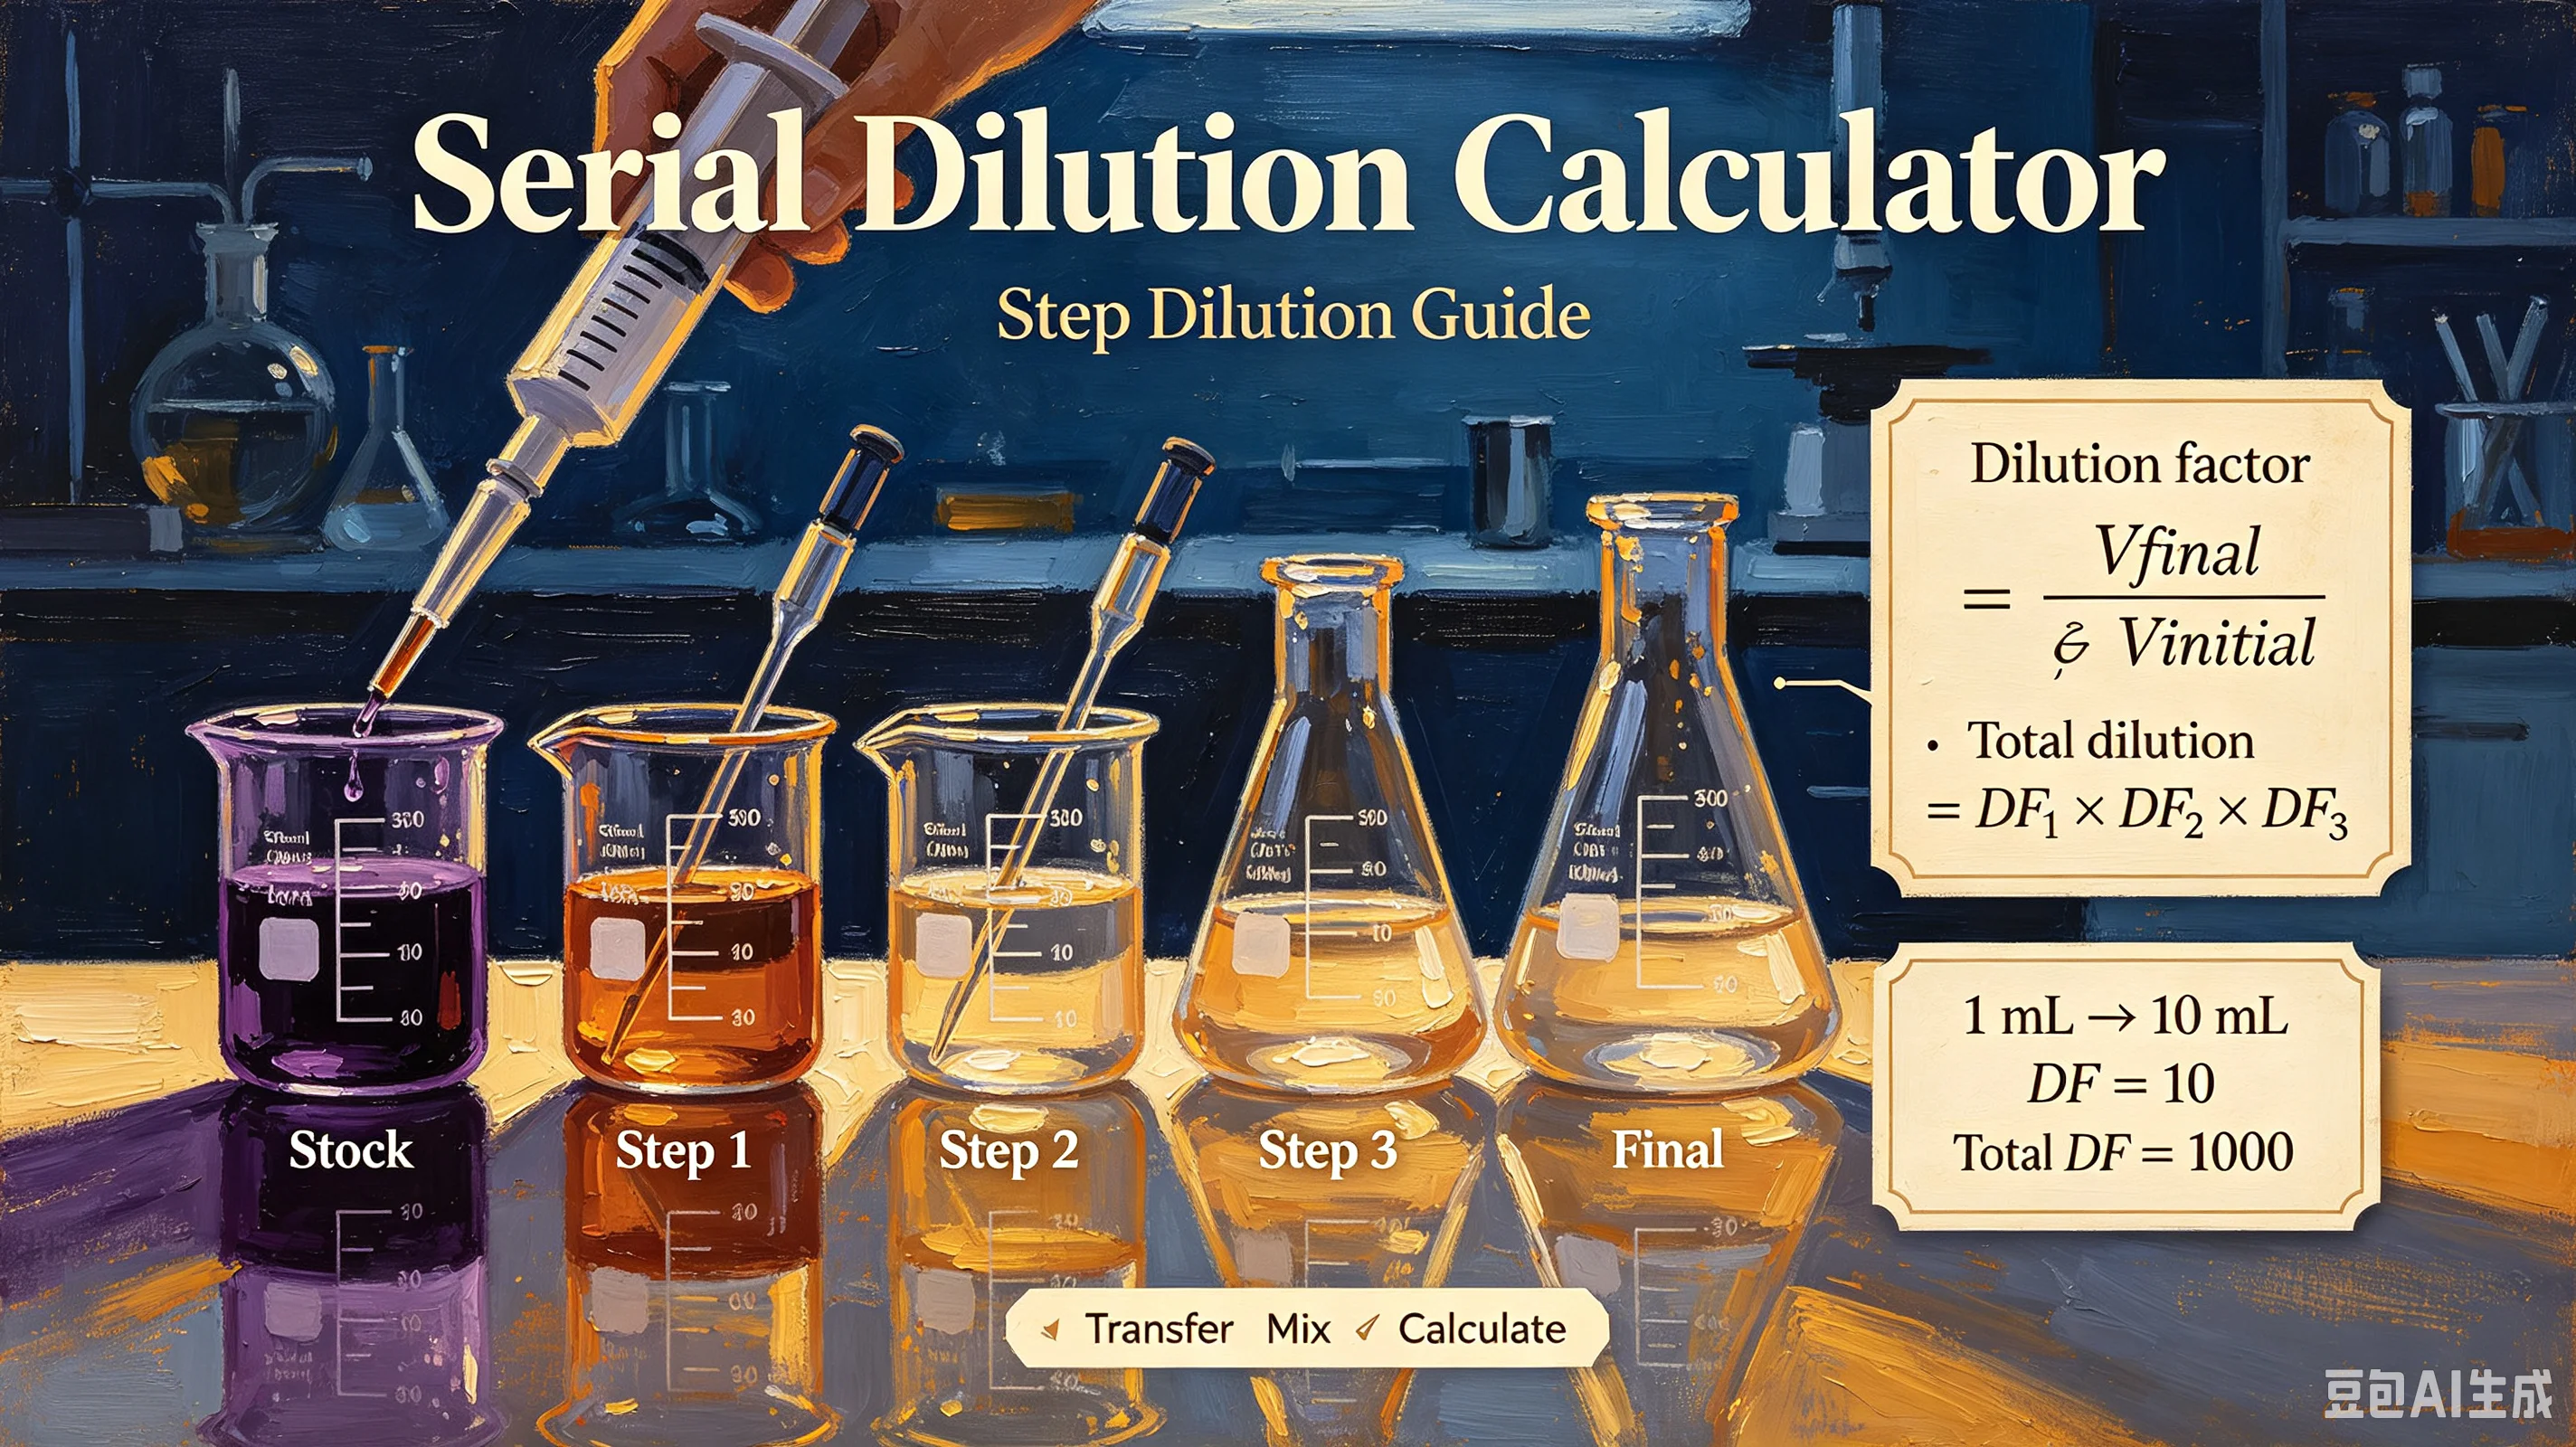
Serial dilution is the process of repeatedly diluting a sample by the same factor, step by step. Each step uses the output of the previous step as its input. The total dilution is the product of all individual dilution factors — not the sum.
Example: Three consecutive 1:10 dilutions:
Step 1: 1:10 (dilution factor = 10)
Step 2: 1:10 (dilution factor = 10)
Step 3: 1:10 (dilution factor = 10)
Total dilution = 10 × 10 × 10 = 1:1,000
If you started with 1 M, after three steps you have 1 mM (1 M ÷ 1,000). After six 1:10 steps, you'd have 1 nM — a million-fold dilution achieved by pipetting reasonable volumes at each step.
Common serial dilution schemes:
1:10 (10-fold) — standard for microbial counting and large ranges
1:2 (2-fold) — common for antibiotic MIC assays and antibody titrations
1:5 (5-fold) — compromise between range and resolution
1:3 (3-fold) — finer resolution for dose-response curves
Why Use Serial Dilution Instead of One Step?
1. Accuracy. Pipetting 1 μL into 999 μL (a 1:1000 dilution) is error-prone — 1 μL is at the limit of most micropipettes, and a 0.1 μL error is a 10% error. Instead, do three 1:10 steps: pipette 100 μL into 900 μL each time. 100 μL is in the sweet spot of accuracy for a P1000 pipette.
2. Range. Serial dilution covers orders of magnitude. A 6-step 1:10 series covers from 10⁰ to 10⁻⁶ — six concentrations spanning a million-fold range. A single dilution can only give you one final concentration.
3. Standard curves and dose-response. Many assays (ELISA, Bradford, MIC) require multiple known concentrations to generate a curve. Serial dilution produces them efficiently from a single stock.
4. Microbial counting. Bacterial cultures can contain 10⁹ CFU/mL. You can't count that many colonies on a plate. Serial dilution brings the count down to the 30–300 colony range that's countable.
The Serial Dilution Formula
For each individual step, use the standard C1V1 = C2V2 formula:
C₁V₁ = C₂V₂
Where C₁ is the concentration coming into the step, V₁ is the volume transferred, C₂ is the concentration after the step, and V₂ is the final volume of that step.
The dilution factor (DF) per step is:
DF = V₂ / V₁ = C₁ / C₂
The total dilution factor after n steps is:
Total DF = DF₁ × DF₂ × DF₃ × ... × DFₙ
If all steps use the same dilution factor:
Total DF = DF^n
The final concentration is:
C_final = C_stock / Total DF
Worked example:
You have a bacterial culture at 10⁹ CFU/mL. You do four 1:10 dilutions. What's the final concentration?
Total DF = 10⁴ = 10,000
C_final = 10⁹ / 10,000 = 10⁵ CFU/mL
If you plate 100 μL (0.1 mL) of this final dilution:
Expected colonies = 10⁵ × 0.1 = 10,000 colonies — too many to count!
You need two more 1:10 steps (total 10⁶):
C_final = 10⁹ / 10⁶ = 10³ CFU/mL
Expected colonies = 10³ × 0.1 = 100 colonies — perfect (in the 30–300 range).
Step-by-Step Serial Dilution Protocol
Step 1: Plan your dilution series.
Decide: starting concentration, target concentration(s), dilution factor per step, number of steps, and volume per tube. Write it out before touching a pipette.
Example: 5-step 1:10 dilution, 1 mL final volume per tube.
Step 2: Label your tubes.
Label tubes clearly: "10⁻¹", "10⁻²", "10⁻³", etc. (or "1:10", "1:100", "1:1000"). Labeling mistakes are the #1 cause of serial dilution errors.
Step 3: Add diluent to each tube.
Add 900 μL of diluent (buffer, media, water) to each tube. For a 1:10 dilution, the diluent volume is 9× the transfer volume.
Step 4: Perform the first dilution.
Pipette 100 μL of the original sample into tube 1 (containing 900 μL diluent). Mix thoroughly by pipetting up and down 5–10 times or vortexing. This is your 1:10 (10⁻¹) dilution.
Step 5: Use a fresh tip for each transfer.
This is critical. A used tip carries over concentrated sample from the previous tube, contaminating the next dilution and destroying your dilution factor. Always change tips between steps.
Step 6: Transfer to the next tube.
Pipette 100 μL from tube 1 into tube 2 (900 μL diluent). Mix thoroughly. This is 1:100 (10⁻²).
Step 7: Repeat for all steps.
Continue transferring 100 μL from each tube to the next, with fresh tips and thorough mixing each time.
Step 8: Discard the final transfer.
After the last tube, you'll have 100 μL left in your pipette tip. Discard it — don't add it to anything. The last tube should have the same final volume as all others.
Step 9: Verify.
Check that every tube has the same volume. If one tube has more or less, you made a transfer error. For critical work, you can measure absorbance or count colonies to confirm the dilution worked as expected.
Common Serial Dilution Schemes
Scheme | Per-Step DF | 5 Steps Total DF | Typical Use |
|---|---|---|---|
1:10 | 10 | 10⁵ (100,000×) | Microbial CFU counting, large-range screening |
1:2 | 2 | 2⁵ = 32× | Antibiotic MIC, antibody titration, IC50 |
1:5 | 5 | 5⁵ = 3,125× | General dose-response, medium range |
1:3 | 3 | 3⁵ = 243× | Fine-resolution dose-response curves |
1:4 | 4 | 4⁵ = 1,024× | Compromise between 1:2 and 1:10 |
For a 2-fold (1:2) dilution, add equal volumes: 500 μL sample + 500 μL diluent = 1:2. For 10-fold: 100 μL + 900 μL. The ratio of transfer volume to total volume defines the dilution factor.
Real Lab Applications
1. Microbial CFU counting.
This is the classic use. A saturated E. coli culture is ~10⁹ CFU/mL. You do a 10⁻⁴, 10⁻⁵, 10⁻⁶, and 10⁻⁷ dilution series, plate 100 μL of each, and count colonies after incubation. The plate with 30–300 colonies gives you the original concentration:
Original CFU/mL = (colonies × dilution factor) / volume plated
If the 10⁻⁶ plate has 85 colonies:
CFU/mL = (85 × 10⁶) / 0.1 = 8.5 × 10⁸ CFU/mL
2. ELISA standard curves.
Prepare a 2-fold or 3-fold serial dilution of a known standard (e.g., recombinant protein at 1 μg/mL). Measure absorbance at each concentration, plot absorbance vs. log(concentration), and fit a curve. Unknown sample concentrations are read off the curve.
3. Minimum Inhibitory Concentration (MIC) assays.
Antibiotics are serially diluted (usually 2-fold) across a 96-well plate. Bacteria are added to each well, and after incubation, the lowest concentration with no visible growth is the MIC. A typical 10-step 2-fold series covers from 512 μg/mL down to 1 μg/mL.
4. Antibody titration.
Determine the optimal antibody concentration for Western blot, IHC, or flow cytometry by testing a 2-fold or 3-fold serial dilution series. Pick the dilution that gives the strongest specific signal with the lowest background.
5. Phage and virus titration.
Similar to bacterial counting — serially dilute phage or virus, infect host cells, and count plaques (phage) or fluorescent foci (virus) to calculate titer (PFU/mL or TCID₅₀).
Common Mistakes
Not changing pipette tips between steps.
This is the most destructive error. A tip with 1 μL of 10⁻¹ dilution carried into a 10⁻² tube adds a concentrated bolus that can throw off the entire series. Always use a fresh tip.
Insufficient mixing.
Each tube must be thoroughly mixed before transferring to the next. If you transfer from an unmixed tube, you're not transferring the true concentration. Pipette up and down at least 5 times, or vortex briefly.
Labeling errors.
"10⁻⁵" vs. "10⁻⁶" looks similar when you're rushing. Label before starting, and double-check each tube as you go. A labeling error means all your downstream calculations are wrong.
Calculating total dilution as a sum instead of product.
Three 1:10 dilutions = 1:1000 (10×10×10), NOT 1:30 (10+10+10). This is a common beginner math error. Always multiply.
Transferring the wrong volume.
For a 1:10 dilution in 1 mL total, transfer 100 μL into 900 μL — not 10 μL into 990 μL (that's 1:100) and not 200 μL into 800 μL (that's 1:5). Double-check your volumes.
Forgetting the blank/zero.
For spectrophotometric assays, include a tube with diluent only (no sample) as your blank. This accounts for background absorbance from the diluent itself.
Using the wrong diluent.
Dilute bacteria in sterile media or saline (not pure water — it lyses cells). Dilute proteins in the same buffer as the assay. Dilute antibiotics in solvent that won't kill cells at the final concentration. The diluent matters.
Ignoring the plateable volume.
In CFU counting, the dilution you plate isn't the final tube — it's the tube × the volume you plate. Plating 100 μL of a 10⁻⁶ dilution is effectively a 10⁻⁷ dilution of the original. Always account for plating volume.
When NOT to Use Serial Dilution
Serial dilution isn't always the answer:
Small dilutions (1:2 to 1:20): A single C1V1=C2V2 dilution is simpler and just as accurate.
When you need exact intermediate concentrations: Serial dilution compounds pipetting errors — each step's error multiplies. For precise single concentrations, weigh or pipette directly.
When sample is precious: Each serial dilution step consumes sample. If you only have 50 μL, a multi-step series may use it all.
For very small dilution factors: A 1:1.5 serial dilution is hard to pipette accurately. Use direct dilution instead.
Common Questions
How many dilution steps do I need?
Calculate: number of steps = log(target DF) / log(per-step DF). For a 1:1,000,000 dilution using 1:10 steps: log(1,000,000) / log(10) = 6 steps. For 1:1,000,000 using 1:2 steps: log(1,000,000) / log(2) ≈ 20 steps.
What's the "countable range" for CFU?
30–300 colonies per plate. Below 30, statistical error is high (one colony = 3% error). Above 300, colonies overlap and are hard to distinguish, and nutrient depletion slows growth. Always plate multiple dilutions so at least one falls in this range.
Do I need to change tips if I'm going from low to high concentration?
If you're going from most dilute to most concentrated (reverse order), tip carryover is less problematic because you're adding a tiny amount of dilute sample to a concentrated one. But it's still good practice to change tips — and if you're going from concentrated to dilute (the standard direction), it's mandatory.
How accurate is serial dilution?
Each step introduces ~1–2% pipetting error. After 6 steps, the cumulative error can be 5–10%. For critical work (pharmacology, clinical diagnostics), use automated liquid handlers or verify with independent measurements. For routine lab work, manual serial dilution is accurate enough.
Can I do serial dilution with a multichannel pipette?
Yes — for 96-well plate assays (MIC, ELISA), multichannel pipettes make serial dilution fast and consistent across rows. The principle is identical: transfer from one column to the next with fresh tips each time.
Start Calculating
Use the chembioTube Serial Dilution Calculator to generate complete dilution series in seconds. Enter starting concentration, dilution factor, number of steps, and volume per tube — get every tube's concentration, transfer volume, and diluent volume. Supports 1:2, 1:3, 1:5, 1:10, and custom factors. Free, no signup, runs in your browser.